
Instant Facelift: Beginners guide

“Maybe I’ll treat myself to some Botox for Christmas” was a recent comment from my mum!
I personally couldn’t think of much worse than having needles jabbed into my head as a “treat”.
But then, what other choices are there when it comes to needing a visible lift?
skinChemists Instant facelift
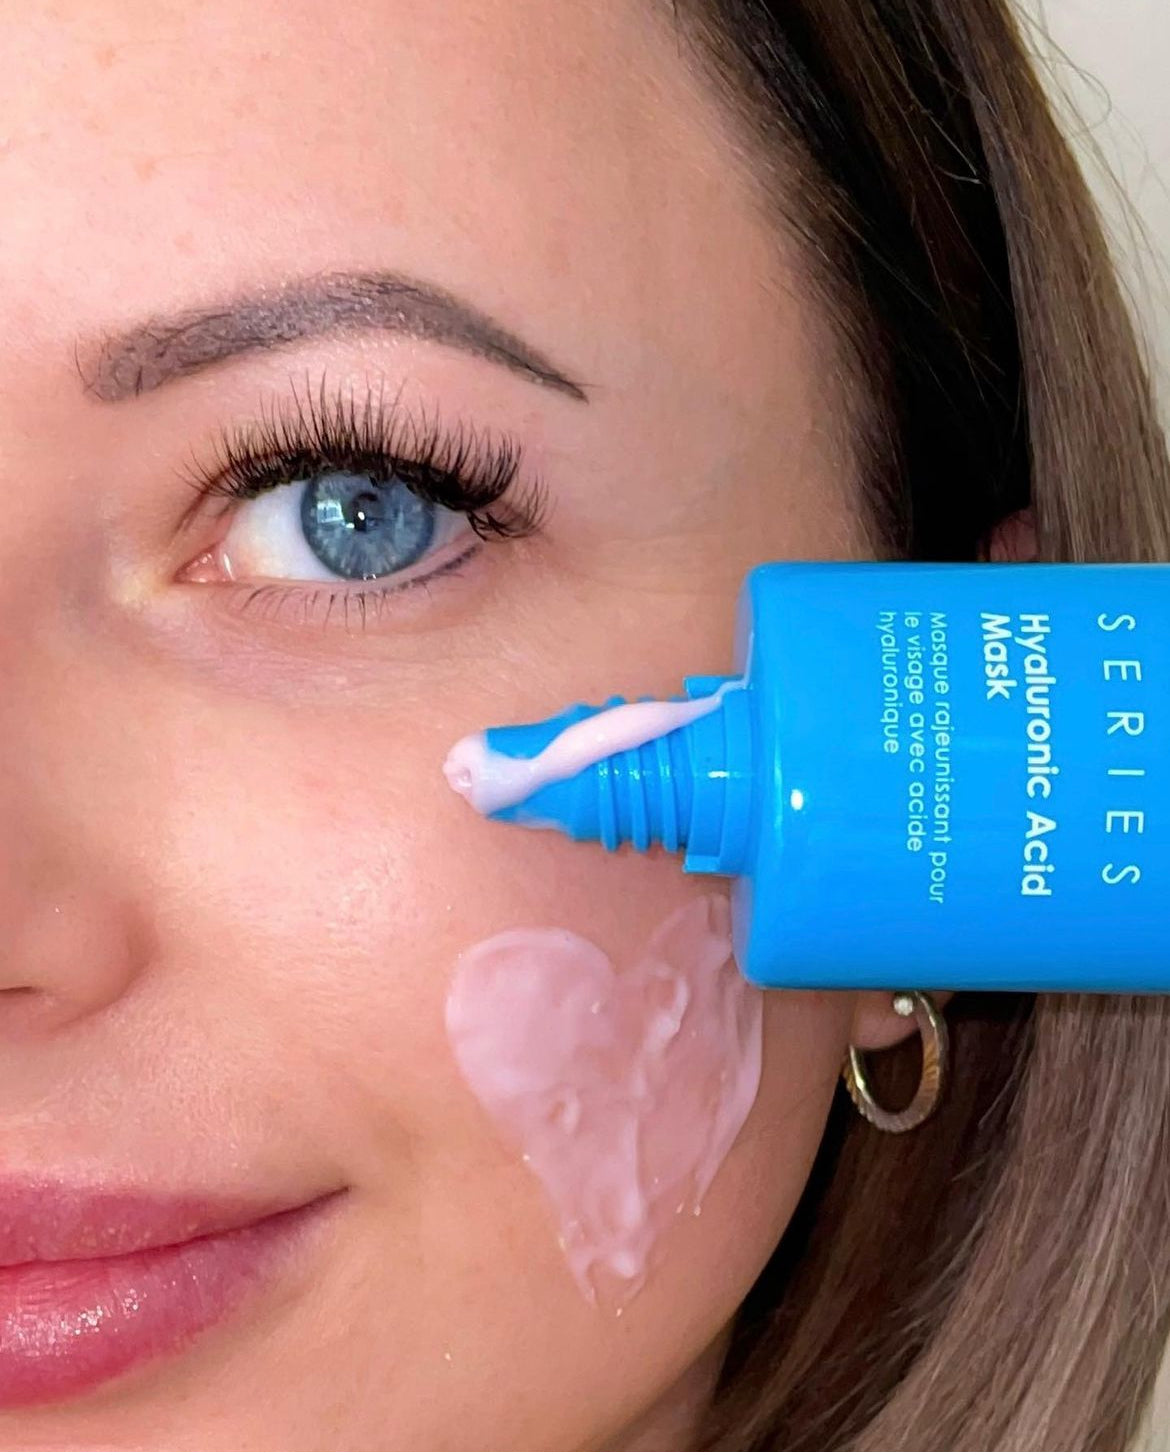
This little pot of wonder aims to lift and tighten the skin, ironing out fine lines and wrinkles in an instant. Star ingredient Magnesium Aluminium Silicate works to instantly tighten and lift the skin, reducing the visibility of fine line and wrinkles.
Imagine getting the results of Botox, but without the pain, cost and completely at your convenience!
I’ve been lucky enough to see the results of Instant Facelift first hand and even try the product myself. Although I am not the target market for this product, I was able to experience the tightening effect of the product and the smoothed surface that it left. However, I also made some rookie mistakes with the product!
Here are my 5 top tips for using Instant Facelift

1. Be careful when dispensing the product
The great thing about the Instant Facelift is the jar it comes in. You can’t actually open up the jar to see the product as this is an air tight pot. This stops air and bacteria getting into the product! However, be careful when dispensing...
Make sure to just gently press down on the side of the white top so that the product seeps out the side. This way you also control how much comes out!
2. A little goes a long way
I experimented with the amount of product needed to create the lifting effect, and I was very surprised to see that less was more!
The more product I used, the less subtle the product appears on the skin. I found that both doses gave the same lifting and tightening effect but the larger amount dried white and flakey. This is a classic sign of using too much product. If this does happen, just wipe away with a cloth and reapply a smaller amount to the area.

3. The sweep is key
One thing I wondered was “how do you apply this?”. Do you lightly dab? Rub it in? I found that lightly sweeping the SMALL amount of product onto the skin was the best way. Nice and quickly, with minimal fussing!
4. Keep a neutral face
I’m sure we’d all be trying to get this product into every nook and cranny, pulling various face shapes to do so. But…don’t. Keep a neutral face while applying the product so that you hit natural lines and wrinkles.
5. Allow to dry!
Once you have swept the product onto your “target” areas, allow a good amount of time to dry with no interference. I would recommend around 10 minutes. Once the product has dried, you can apply makeup as usual!
And so, you are ready!
I’d love to see your results so please contact us with any before and after pictures you may have! I’m taking this home to my mum in a few weeks…I can’t wait to see her face!
Emma

